American Inspired: BBQ Pulled Pork

My boyfriend and I have wanted to try out making BBQ pulled pork for a while, so this weekend we finally did. I found a recipe online but adapted it slightly to suit my kitchen and what I had in the cupboards. It really is super simple so don't be put off by the long cooking times.
Excuse the poor quality phone photo - I was far too eager to eat it once it was cooked..
Slow-cooked pork is one of my favourite dishes to cook on a Sunday for a roast dinner. This recipe is very similar; it's cooked for 4-7 hours, really depending on the size of the cut of meat you get. The recipe I found called for shoulder of pork but I always go with loin. Not only does is fall apart and become really tender when slow cooked but there's a nice layer of fat on the top if you like crackling.
This recipe serves 4 - 5 people but if you are big eaters then I would suggest getting a bigger cut of meat because although it may look like enough, it does shrink down in size once cooked.

Recipe

1kg loin of pork
For the seasoning:
2 tsp smoked paprika
4 tsp salt - I like to use Maldon Sea Salt
4 tsp muscovado sugar

Firstly, preheat your oven to the hottest temperature, this will be around 250C. You really want to blast the meat in a hot oven to get some of the moisture out of it. 
To prepare the meat, you should always pat it dry to allow it to crisp up on the outside when you first put it in the oven. Mix together all the ingredients for the seasoning, you will probably have to get your hands in there if, like mine, your sugar has come together to form one giant sugar lump. Muscovado has a tendency to do this. Next use just half of this and just rub it over all sides of the meat. Transfer the meat to a deep baking tray and cover with foil. Put in the hot oven for 35 minutes or until browned.
You then want to turn the oven down to 125C and cook for 4 hours, the temperature inside the meat should reach about 90C and if you have one, measure this with a meat thermometer. If you are unsure, leave it for an extra 30 minutes - it won't do it any harm. You then want to take it out of the oven and either pour the meat juices that are in the bottom of the baking tray into a bowl and put to one side, or move the meat over to another tray. Turn the temperature of the oven all the way back up to the highest setting and blast it for another 30 minutes.
After this, take the meat out of the oven and cover in foil. You should leave it to rest for at least half an hour. Don't skip this step! The smells coming from the oven may have been teasing you all day but this really does make a huge difference! You then want to shred the meat. I tore it apart by slicing with a chefs knife and then chopped it a bit more - it kind of falls apart as you cut it anyway. Any bigger bits I just pulled apart with my fingers. Put the meat in a serving dish and sprinkle on the remaining of the seasoning that you made earlier and also pour over the juices that you'd previously drained off. Then give it a good mix and put it in the oven again for 15 minutes just to heat back up. I would suggest making a BBQ sauce to have with this but I was too lazy and bought a jar from the supermarket and just heated it slightly and it was still delicious.
You'll then have beautifully tender and BBQ flavoured pork. I served mine with the classic BBQ side, macaroni and cheese, and some veg. Enjoy!

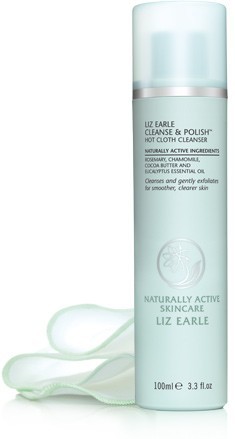
Skincare: Liz Earle Cleanse and Polish


I never used to pay too much attention to looking after my skin, but towards the end of my teenage years and coming into my early twenties I started to realise the importance of cleansing and moisturising daily. The reason I never cared about it was because I struggled to find products that I really liked and that worked for me; having sensitive skin causes all kinds of problems when it comes to skincare.
But then my mother introduced me to skincare brand, Liz Earle. Liz Earle is a company that pride themselves on using naturally active, high quality and safe ingredients. I started using their Cleanse and Polish - Hot Cloth Cleanser about a year ago now and I don't think I will ever look back. The starter kits contain a 100ml pump of the cleanser and a muslin cloth and costs £14.75 - a pretty good price for the quality of the product.
To use, you firstly apply the product to a dry face and neck and massage it in. I tend to do this for about 2 - 3 minutes but I don't think it really matters how long you do it for. Because all ingredients are safe you can even rub it into your eyelashes to remove mascara - something that if done with other products would probably results in tears. The next step is to soak the muslin cloth in hand-hot water, wring out the excess water and start to lightly sweep away the cleanser. Finally, a splash of cold water onto your skin to help reduce pore-size.
After using, my skin not only feels softer but it looks fresher. It is suggested that you use this twice a day, but I only use it once and I still notice a difference. I have been recommending this to friends ever since I started using it and if you have struggled before to find naturally active products that actually do a good job, try this!

Wearable Make-Up Trends

"Barely there" make up always seems to make an appearance somewhere during fashion week, but this season the dewy finish seems to have taken a backseat and has been replaced by perfectly matte and contoured skin. I love this as although I've always thought dewy skin looks amazing on some skin tones, and especially those with very clear skin, it just doesn't suit me and I'm sure others will feel the same. Here's my breakdown of my favourite make-up trends this season that I think anyone could wear.


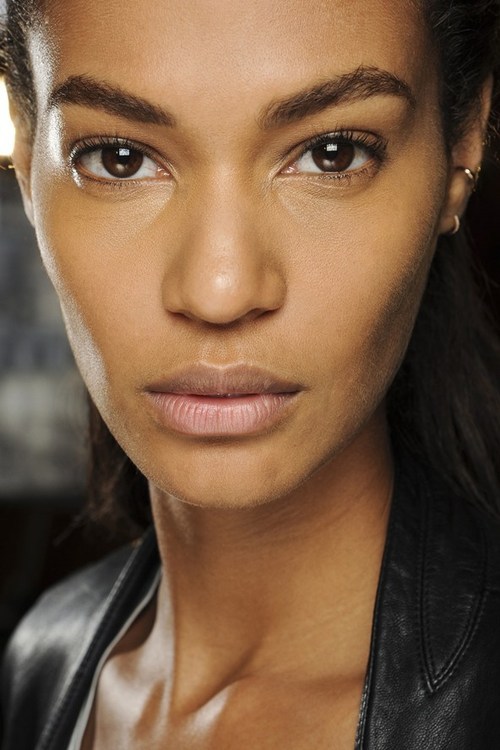
Balmain
image
This look by Balmain shows off the 'non make-up' trend perfectly and it is possibly my favourite of this particular style. It's beautifully understated, effortless and also entirely wearable. Another great thing about it is that it's versatile: a quick swipe of lipstick could transform this into a simple evening look (Diane Von Furstenberg and Fendi did just that).


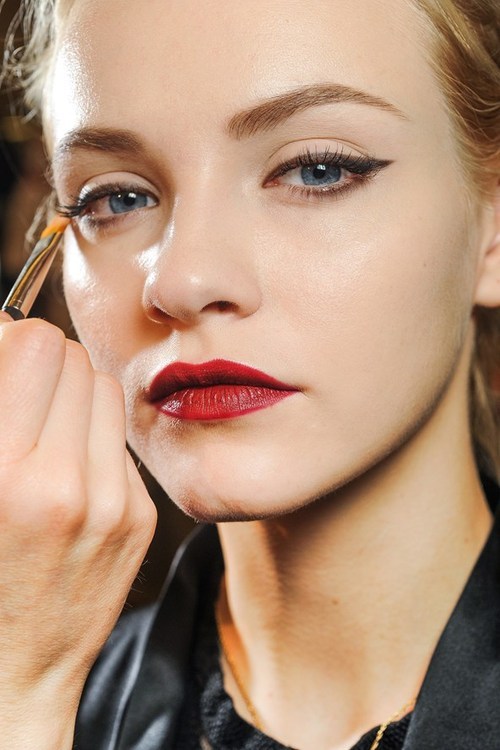
Dolce and Gabbana
image
The 60's feline flick has made yet another appearance on the catwalk. This look by Dolce and Gabbana is extremely classic, it was paired with backcombed beehives which were also sometimes accessorised with extravagant crowns. Once you have mastered the flick (I still haven't quite) this is an easy look to create. Matte lipstick, another favourite of mine, was added and the skin left slightly dewy, but not as much as we've seen in previous seasons.


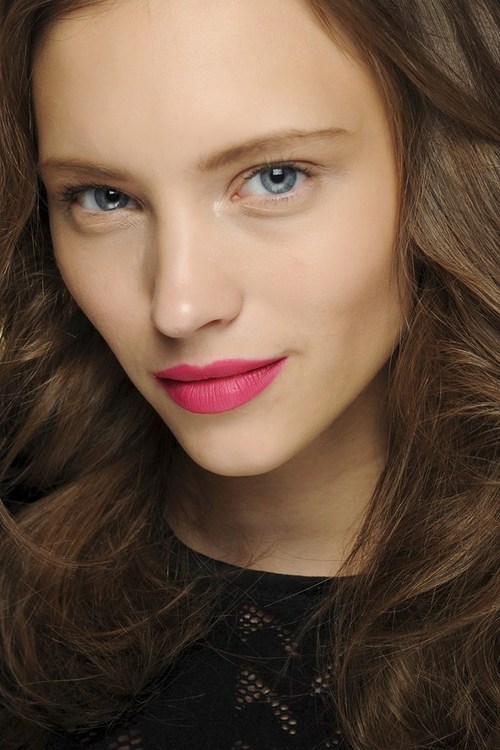
Diane Von Furstenberg
image
I mentioned this Diane Von Furstenberg look above, and it's a trend I have been trying out myself recently although I do apply a very small amount of mascara. The skin is highlighted slightly around the eyes and subtly contoured around the cheekbones. This whole look is in the barbie pink lipstick: it's garish and bright and it only works because of the bareness of the rest of the face. Too much eye make-up and blusher and it really might start to look a bit barbie-esque, so be aware of that if you want to try this out yourself.


Anna Sui
image
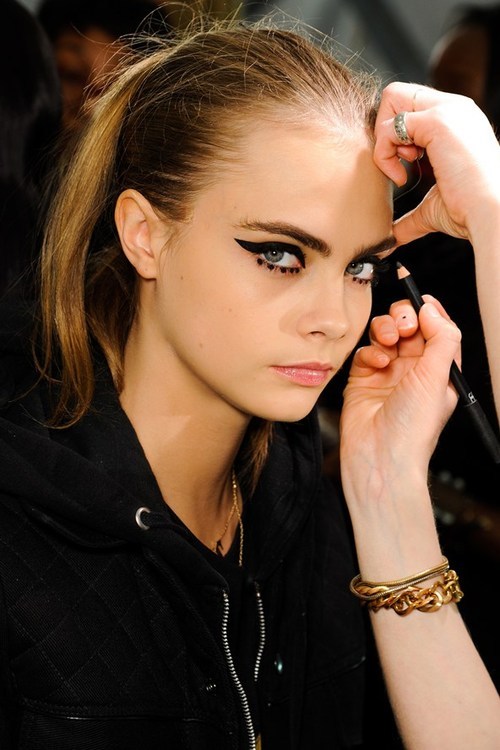
Now this look by Anna Sui isn't so wearable but it was one of my favourites, modelled here by the lovely Cara Delevingne. Thick black eyeliner flicks and marks underneath the eye are reminiscent of the classic Twiggy style. The hair was left simply styled or tied back in looped ponytails which worked well with the bold make-up.

(Images taken from Vogue.co.uk)

Hair Care: Aussie Miracle Hair Insurance


image

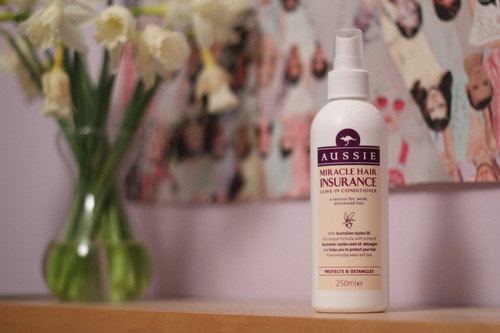
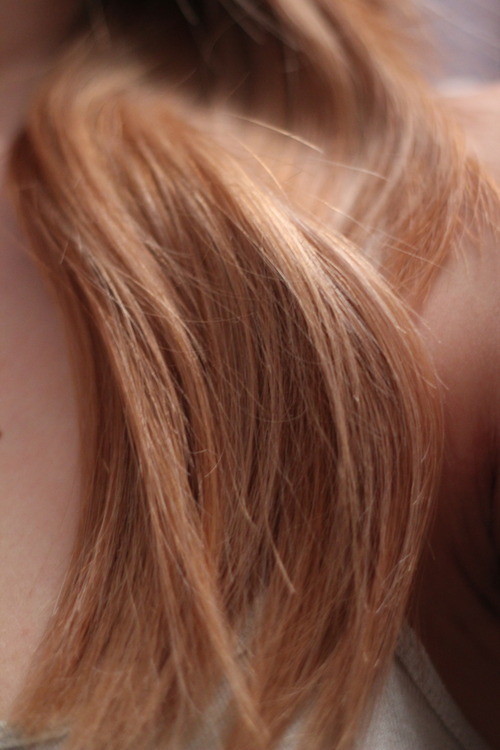
I'm a natural brunette and to get it to the blonde that it is now, I have had to bleach the HELL out of it. This results in my hair sometimes feeling quite brittle and dry, not to mention the split ends I have to contend with.
Being a long time fan of Aussie products I decided to give this leave-in conditioner a go, and I can't tell you how glad I am that I did. It leaves my hair feeling not only soft, but back to the good condition it was in before I attacked it with bleach. Although haircare can be expensive sometimes, this comes in at only around £5, so it's affordable even if you're on a student budget like myself.

image

I would strongly recommend this product to any of my friends who struggle with dry, split ends and just need that little bit of extra moisture that normal conditioner doesn't always give you.


Template by BloggerCandy.com